 ZET - Astrolgy Software
ZET 9 Professional Installation Guide
| Home | News | ZET features | Downloads | Manual | Registration |
You may write me to following mailboxes: 
- Automatic upgrade ZET 9 Lite to Pro\Geo via Internet. (quick)
- Installation using a Professional Installer (full).
Automatic installation
To fillfull automatical (short, whithout some additionaf files) upgrade ZET 9 Lite to professional modification ZET 9 Pro or Geo do following (Internet connection should be established):
- Run ZET 9 Lite (or Pro, if update Pro to Geo)
- Click "Help" button on a top tool panel and select "Update ZET" menu item.
The following window appears: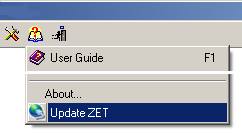
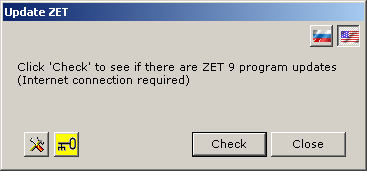
- Click "Setup" button with "tools" icon, if this button exists.
Choose "astrozet.net" as preferable server, set connection parameters as "Normal", press "OK",
- Upgrade it to latest release, if it is not latest one. To do that click "Check" button and go ahead. Then return to point 1.
- Click button with "key" icon, following pan will appears:
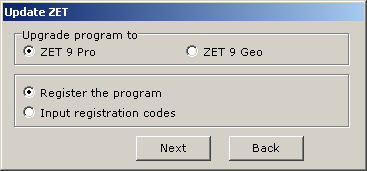
- Select the modification which you need: Pro or Geo. Select "Input registration codes" option.
Click "Next" button, following pan will appears:
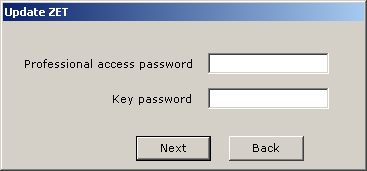
- Input passwords of professional access and key, which you know, and click
"Next" button. If these passwords are correct, then by a moment appears
the messages about successfully installation of key, and appears following pan:
Click "Download" button. The downloading files process messages, installation success message and dialog of restart ZET will appears: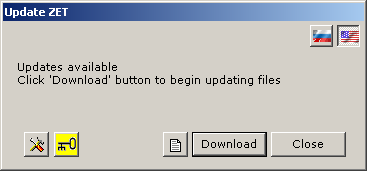
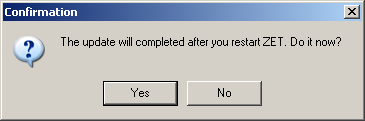
- Click "Yes" button. The program will close. After several seconds appears a window with 'Execution ...' message, then ZET starts automatically as Pro or Geo modification.
- If you wish you may manually install a professional installer with additinal files and topograpfical map for Geo modification (see below).
Installation using a professional installer
- Download ZET professional distribution: SetupXXXe.exe file, where XXX is number of current ZET release, by link reported to you while registration.
- Download your key file,
- Rename key file to Keys9.exe and move it to folder with SetupXXXe.exe file,
- [Geo, optional] Download topographical map distribution (gtopo30-b.exe)
and move it to folder with SetupXXXe.exe file:
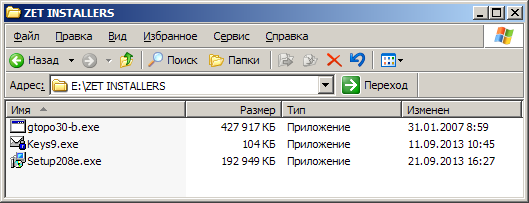
Note: it will need 3.5 GB on a hard drive for topographical map.
-
NB: Do not install as the professional distribution in the folder where is ZET 9 Lite.
Create a separate folder for professional ZET modification, otherwise your data will be lost.
After installation, copy the desired data, such as file DBase\!Default.zbs from previous programs to the new one.
- Run ZET distribution SetupXXXe, you will see:
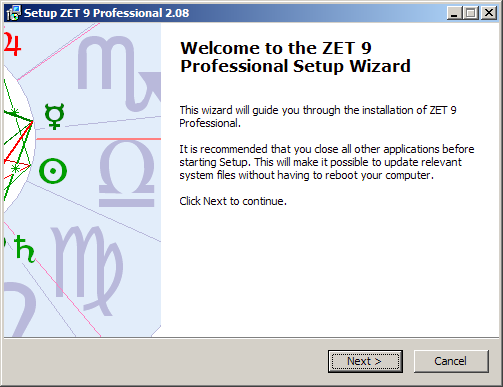
- Click "Next" button
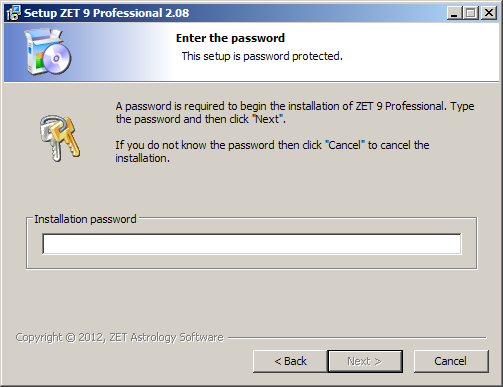
- Input password of professional access. Passwords are case sensitive. Click "Next"
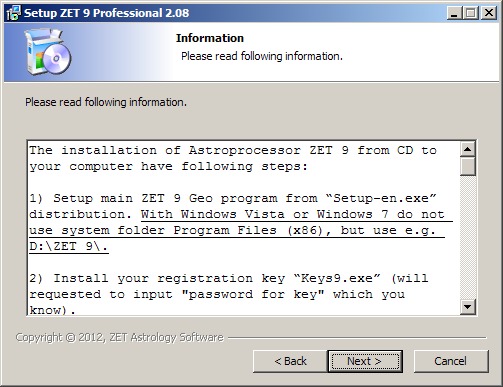
- Read carefully and click "Next".
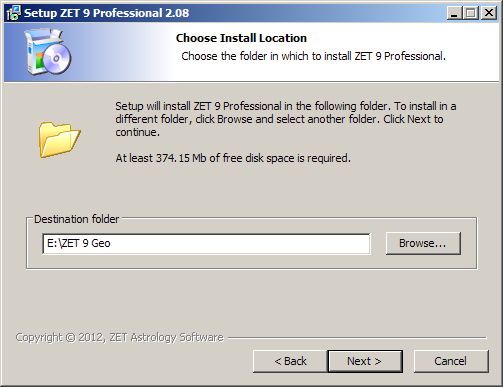
- Choose (specify) folder you wish for ZET.
This should NOT be existing ZET 9 Lite, if you have it,
otherwise you will lost your data.
Click "Next".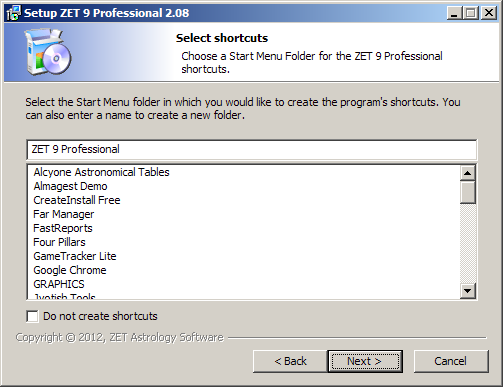
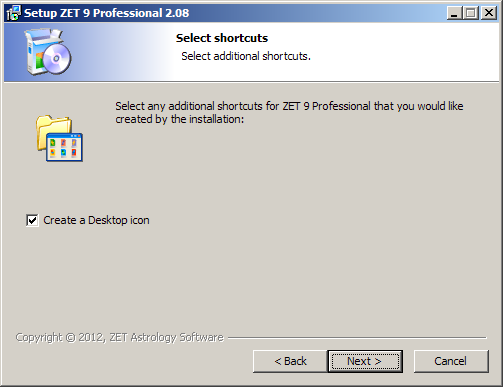
- You may check or not check it.Click "Next".
- I would put a tick. Click "Next".
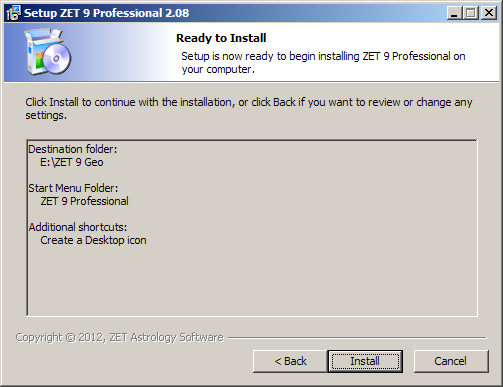
- Click "Install".
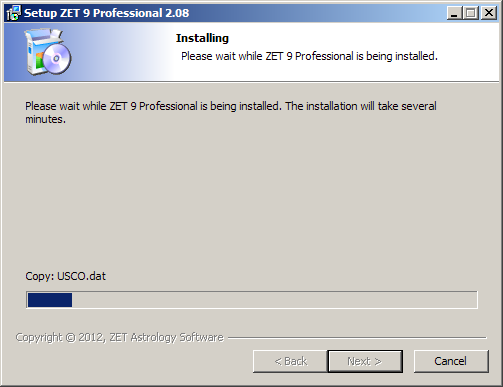
- Wait. Installation in progress.
If process "hanged" at a stage of installation of a font with delivery of the corresponding messages, press the "Continue" button in a window of this message.
On end there will be a window of key password input: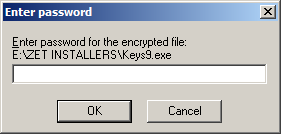
- Input password of your key. Press "OK".
If the black window blinks, then everything is normal, the key was established.
Topographic map installation will be carried out further. If the distribution kit of the topographic map isn't present, there will be a message on the absent of gtopo30-b.exe file, ignore it. If present, then wait (about a minute) of the invitation to the following action: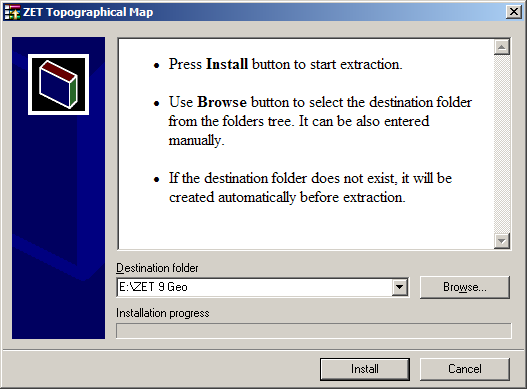
- In a window of dialogue of installation of the topographic map you will
specify a path to the folder in which you install ZET 9 (it is possible and
in any other folder, but then in the program it will be necessary to make
the corresponding settings). Press "Install" button.
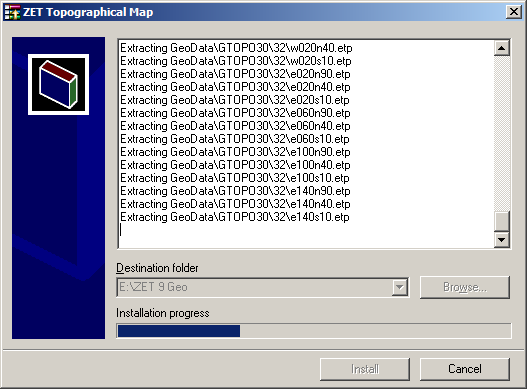
- There is a process of installation of the topographic map. Wait.
On the end of process this window itself will be closed.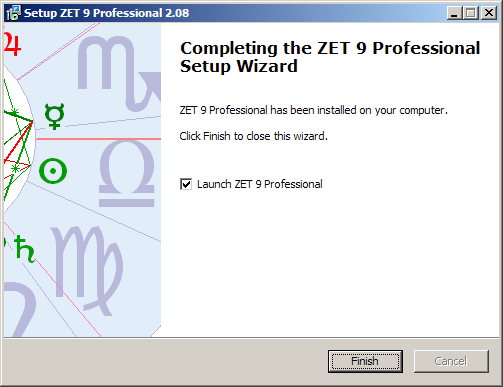
- The ZET installation is complete. Press "Finish". ZET will be started.
Run ZET
You should to run ZET in administrator mode to avoid "Error #17" (or the absence of a key when it is installed) message. To set this mode (for Windows 7, for others similar):
- open menu of ZET shortcut on a desktop (right mouse click),
- choose "Properties" item,
- choose "Shortcut" tab,
- click "Advanced" button,
- check on "Run as administrator" option,
- click "OK" twice.
- After that you will able to run ZET by double click to it's shortcut.
- Install astrological True Type fonts manually.
- If still problem, shot the "User Account Control" Windows tool.
| Home | News | ZET features | Downloads | Manual | Registration |